Wet Felting Basics
Wet Felting Technics
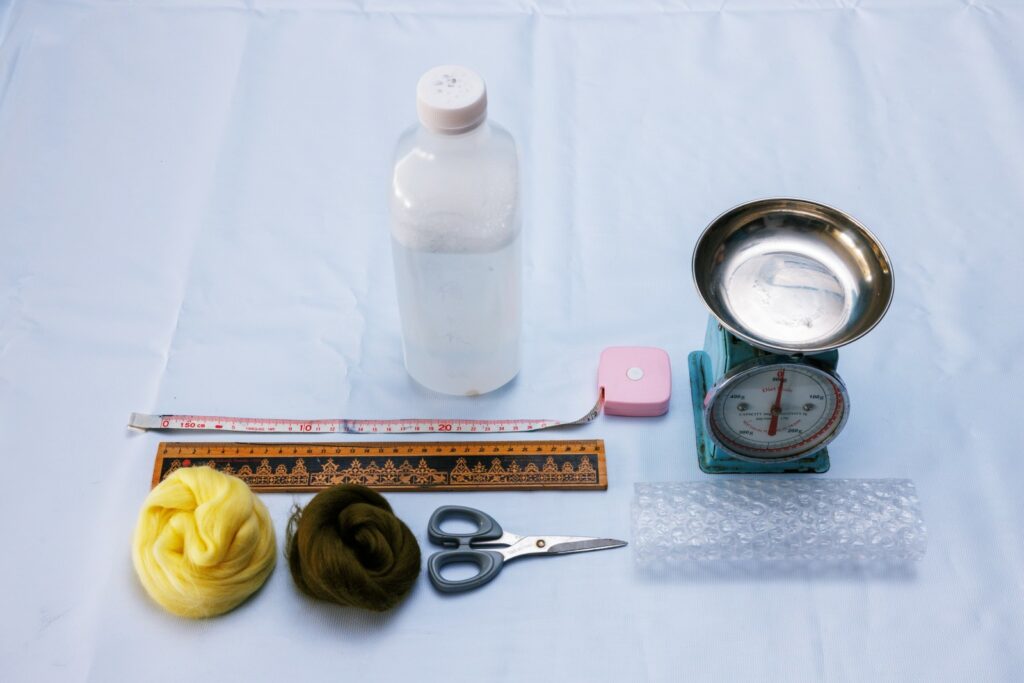
Get your tools and materials ready
Lay out the patten and prepare to place the first layer of wool on the patten
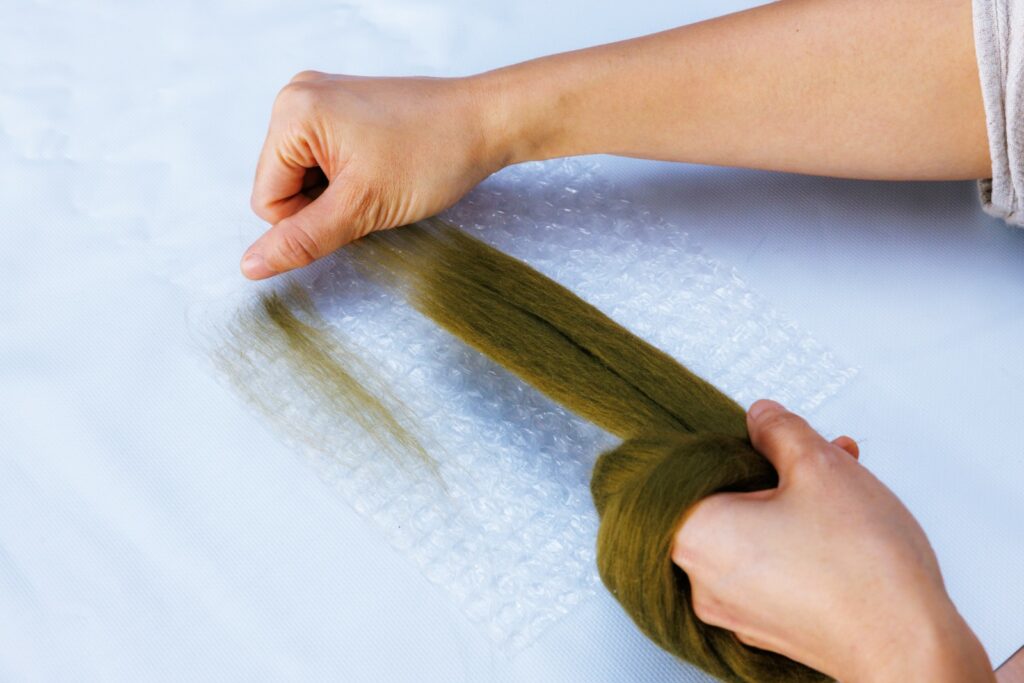
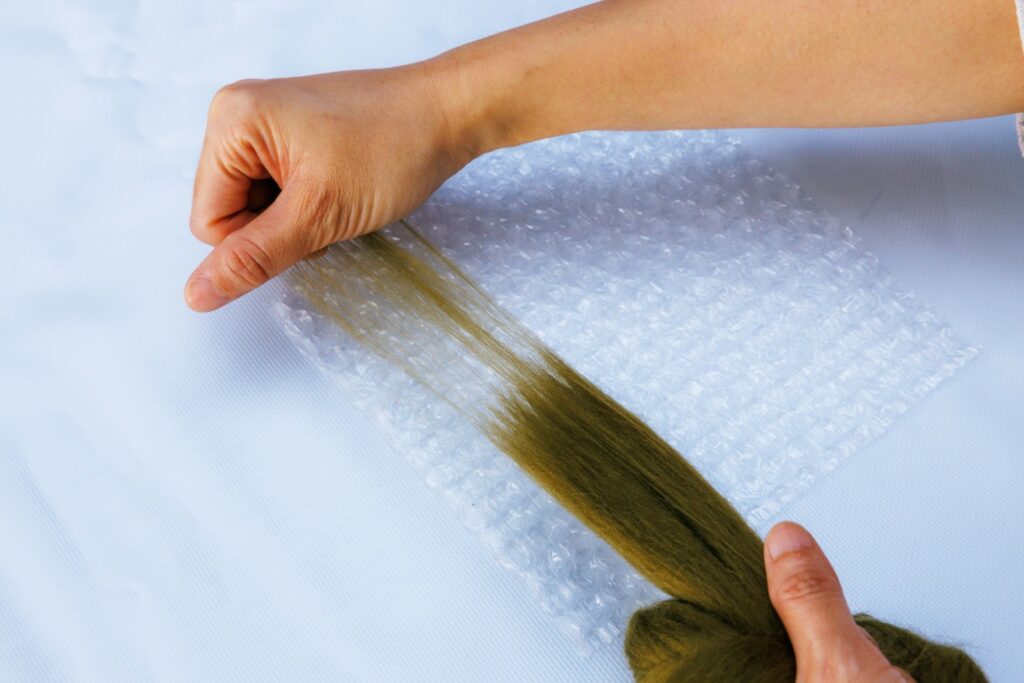
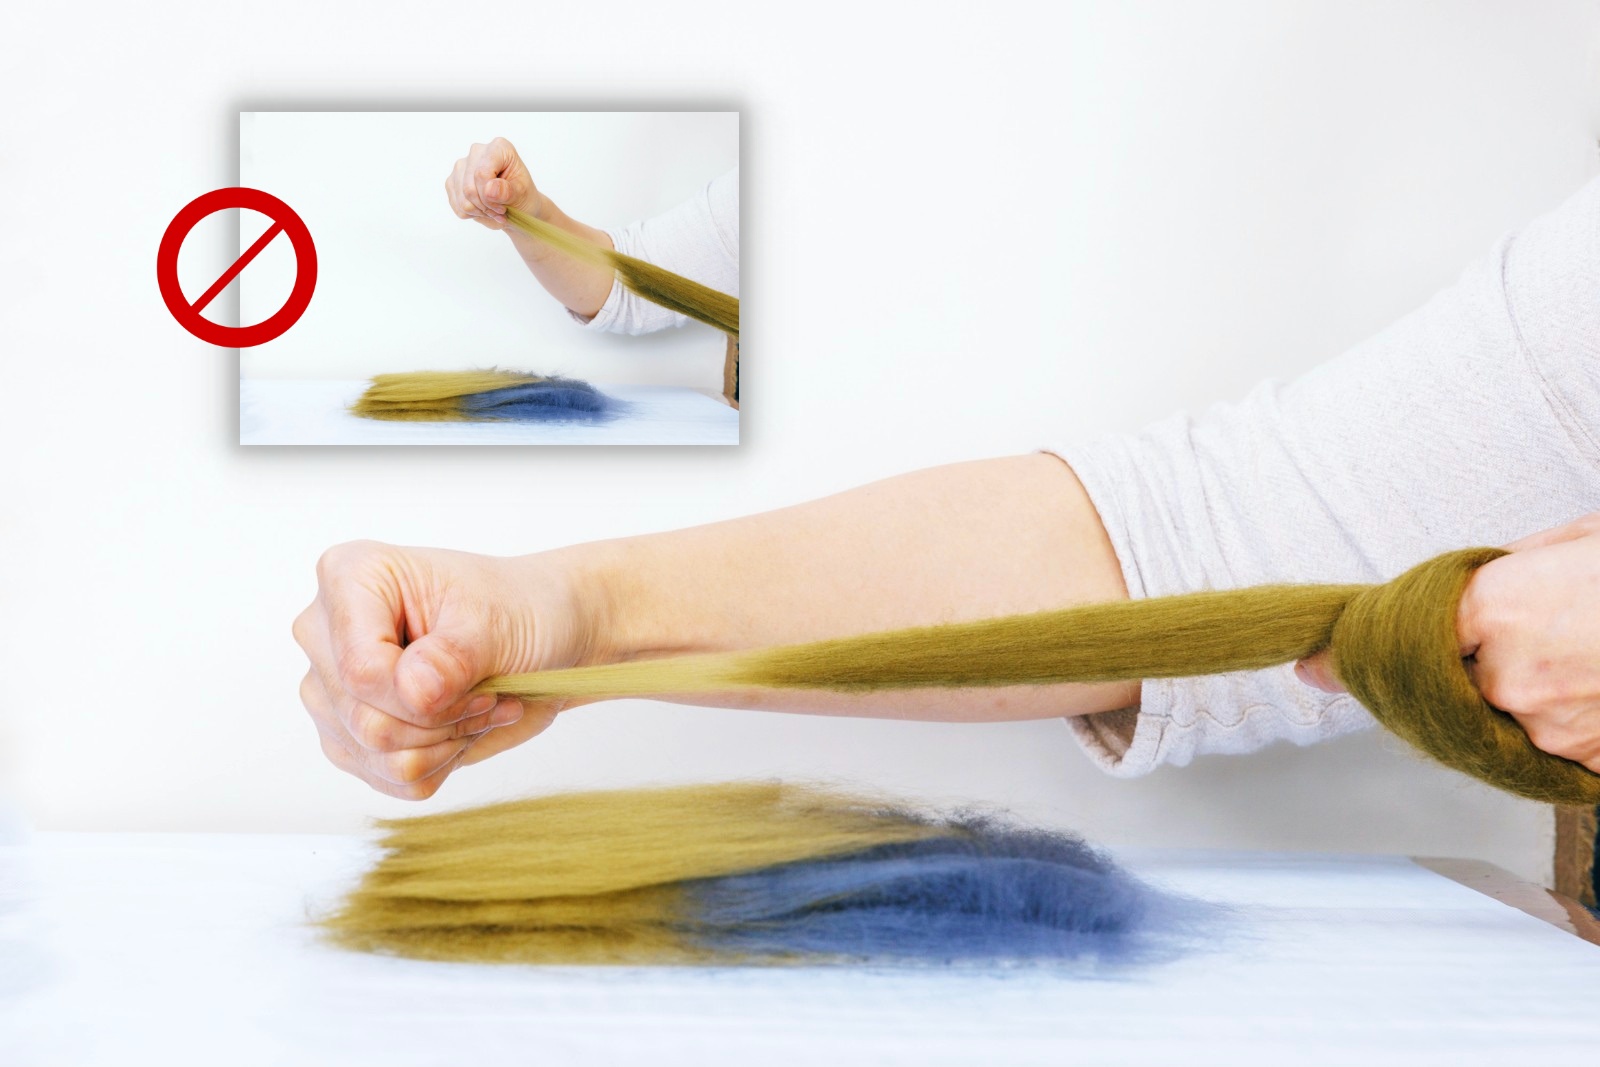
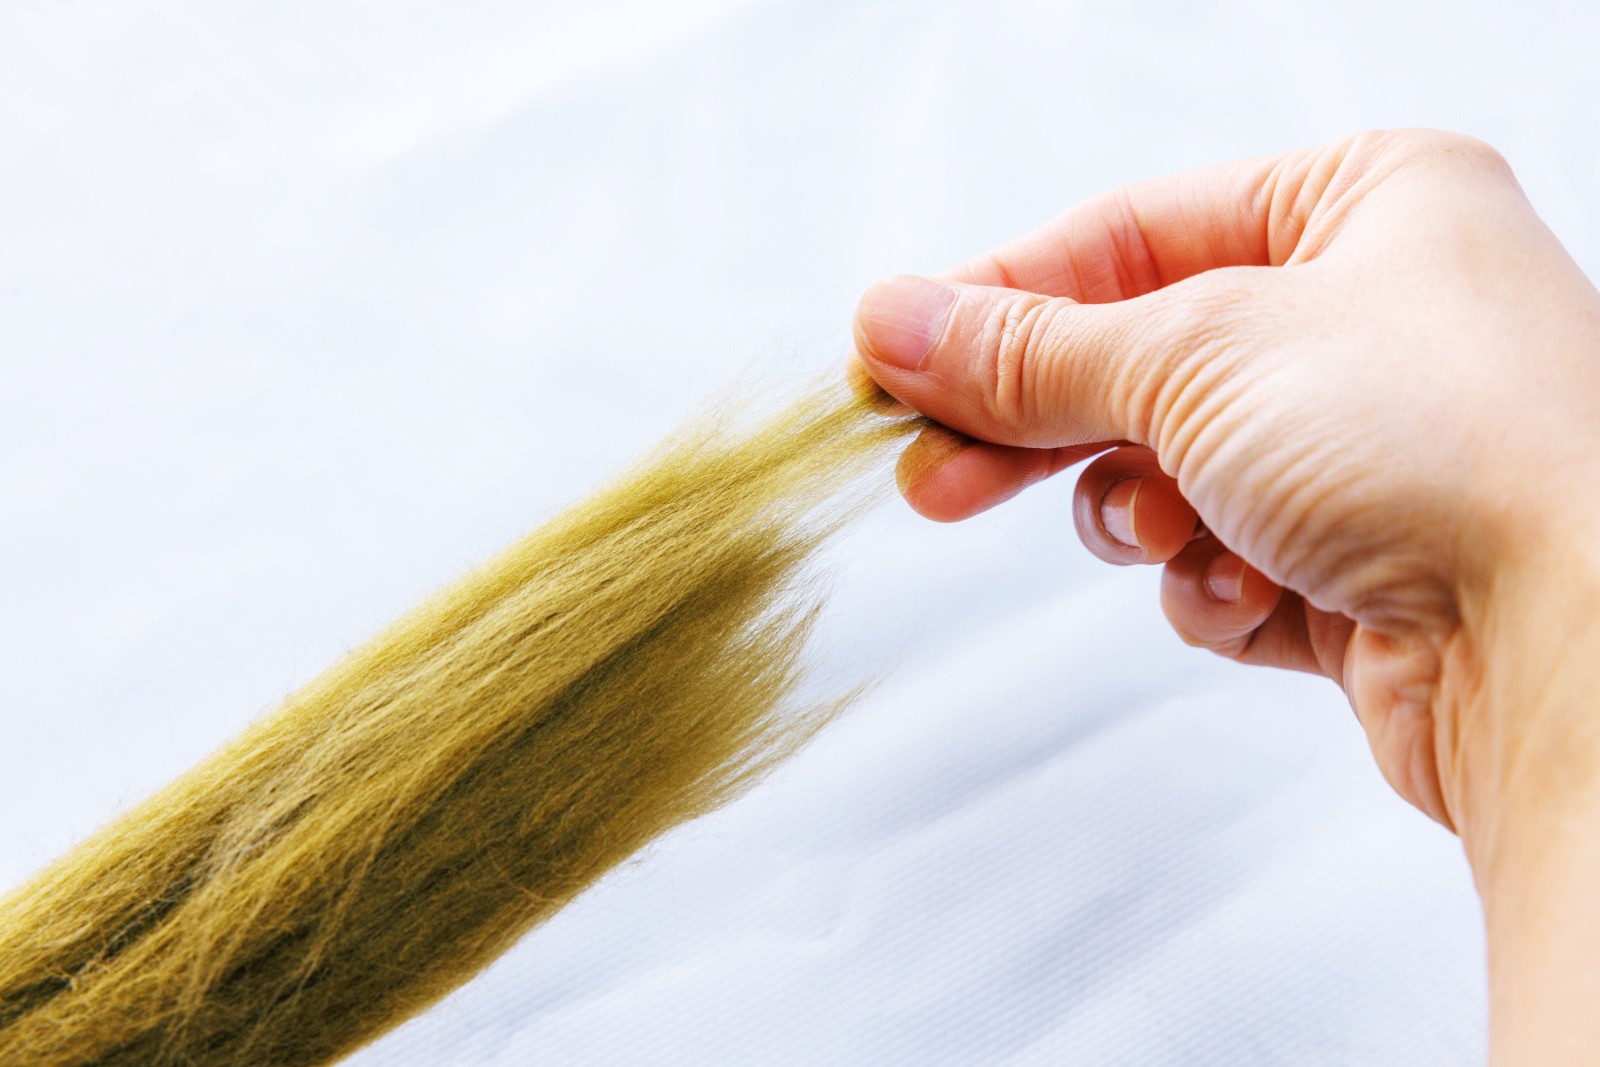
Hold the wool roving with your left hand, use the base of thumb with the index finger, middle finger and ring finger of your right hand to grip the end of the wool roving. Move your two hands gently in opposite directions and with even force to pull off a tuft of wool and place it on the pattern
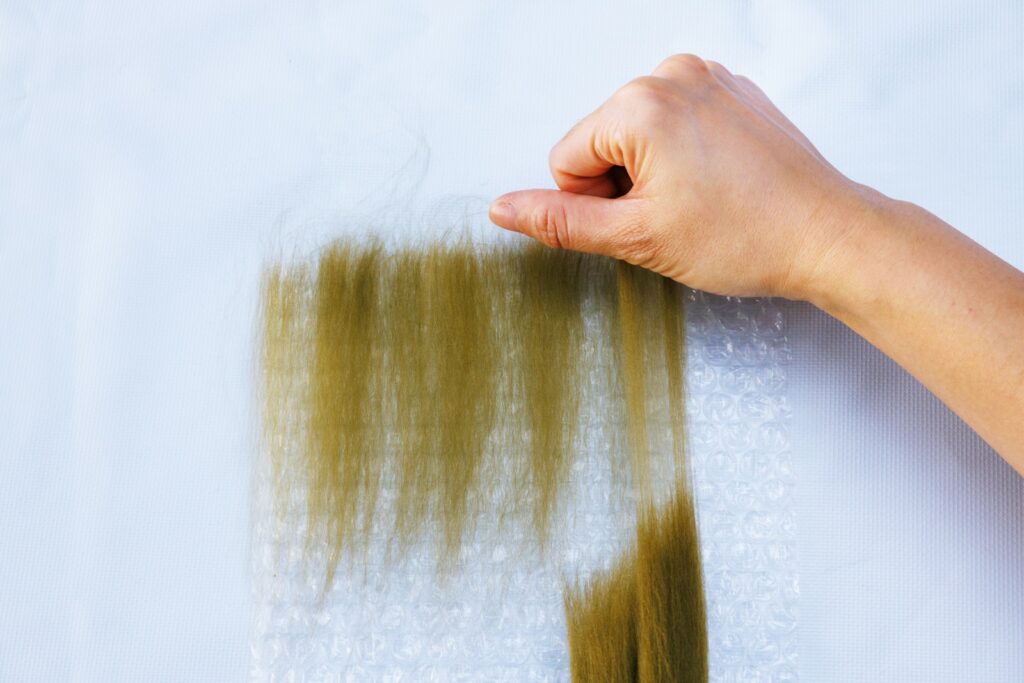
Lay out tufts of wool side by side in the same direction. The evener the size of each tuft, the smoother your finished piece of felt will look.
Continue to place tufts of wool until you reach the end of the row. Start to make another row. Make sure the two rows overlap by about 3 cm
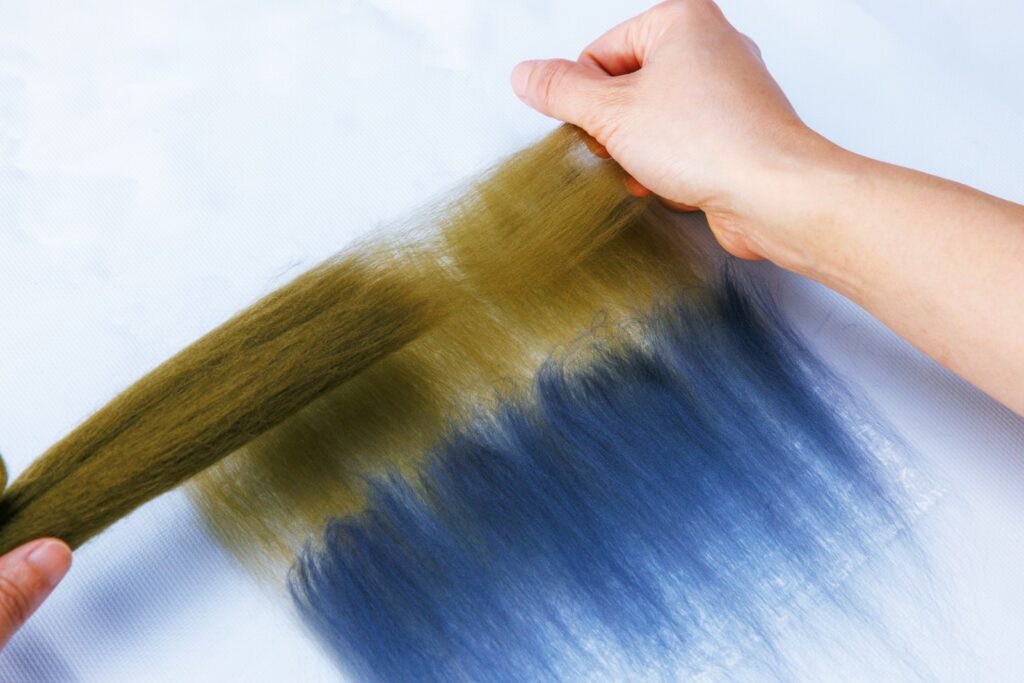
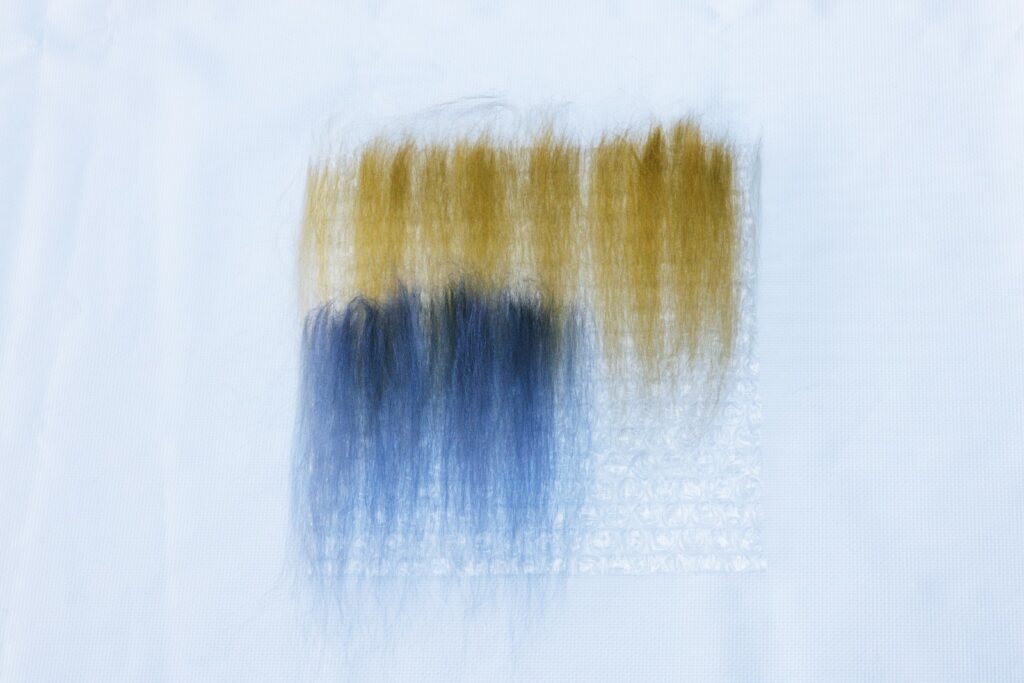
When the first layer is done, start laying out the second one perpendicularly on the first. Continue with more layers and alternate the direction of each layer. The total number of layers required varies depending on different works
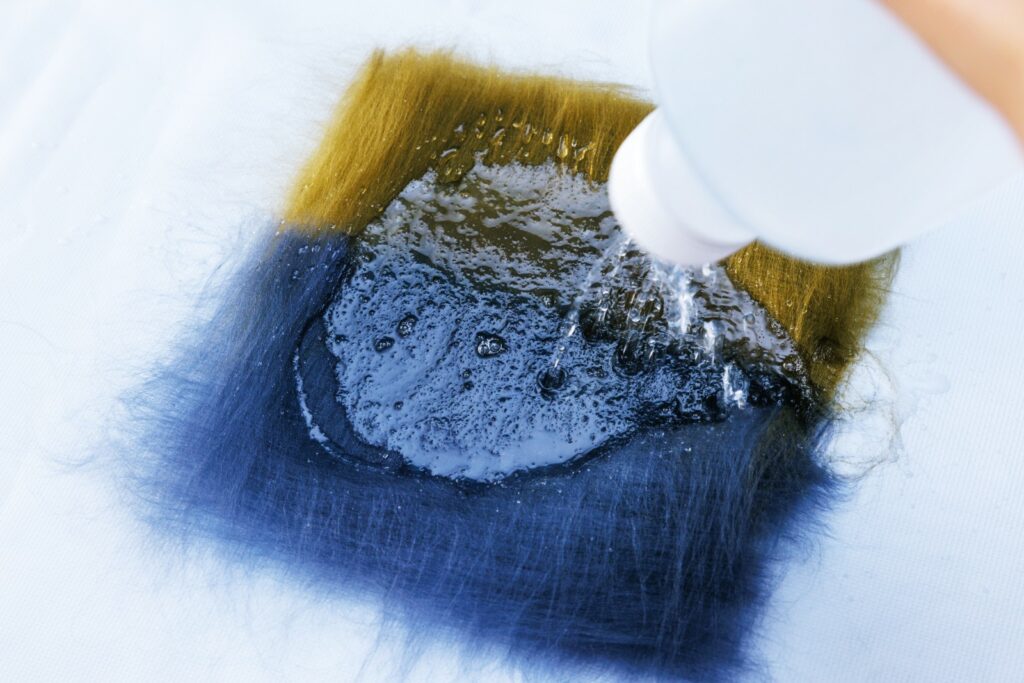
After you are done with placing the wool, gently pour soapy water onto it
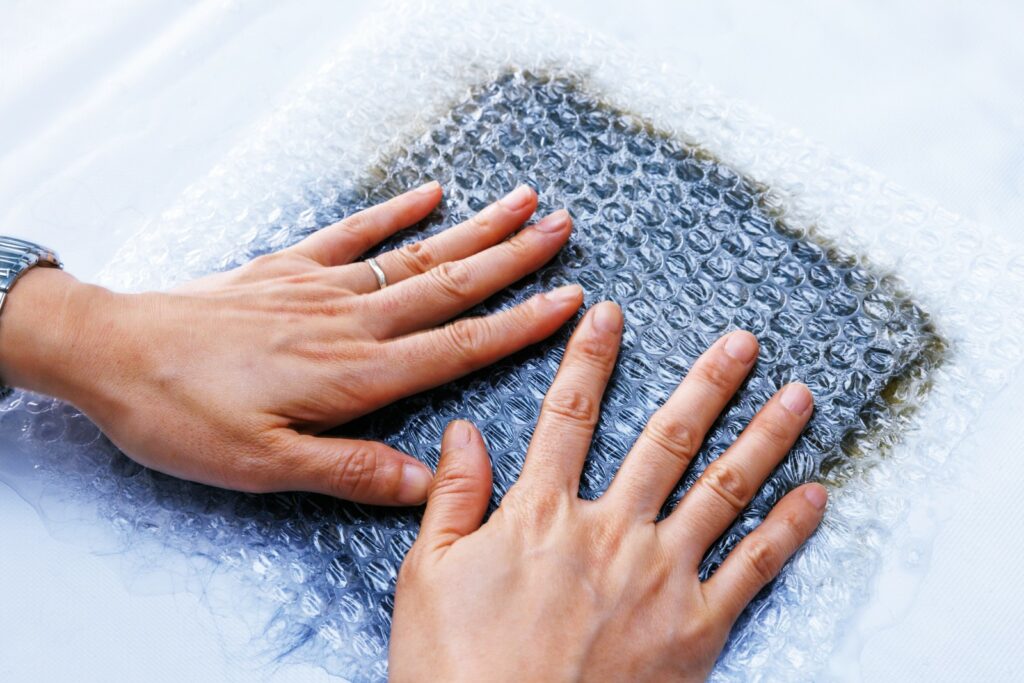
Place a piece of bubble wrap on top of the wool and press down your palms to make sure the wool is soaked. Gently push your palms outward to let out excessive air and water

Remove the bubble wrap without disturbing the wool. Fold inward any wool fiber that runs outside the pattern underneath
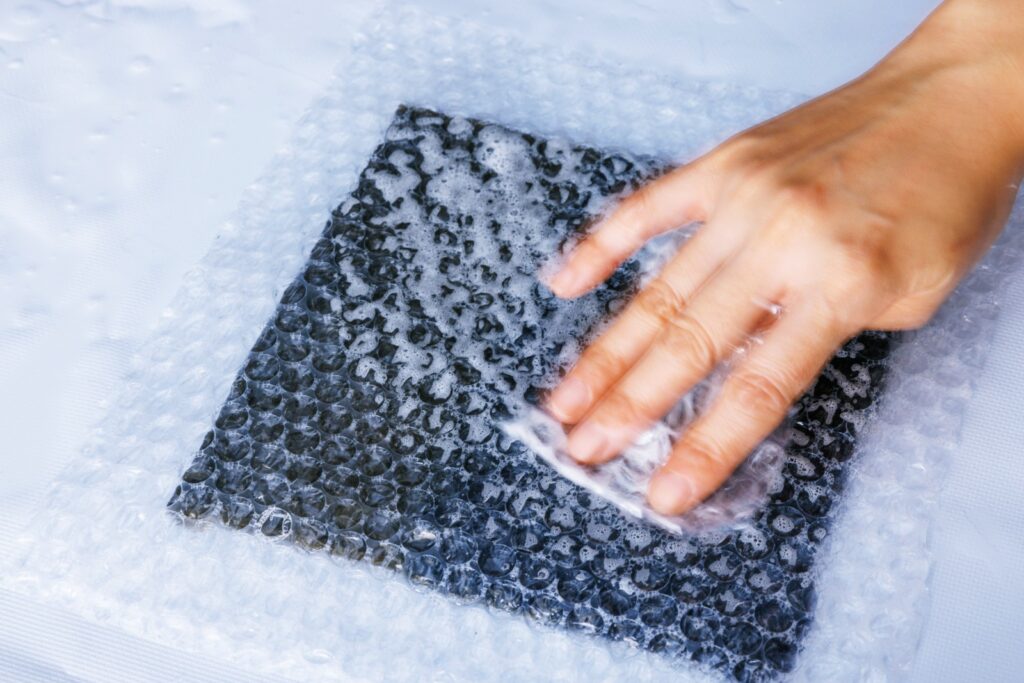
Place the bubble wrap again on the wool. Use another smaller piece of bubble wrap to rub on its surface to accelerate the process of felting
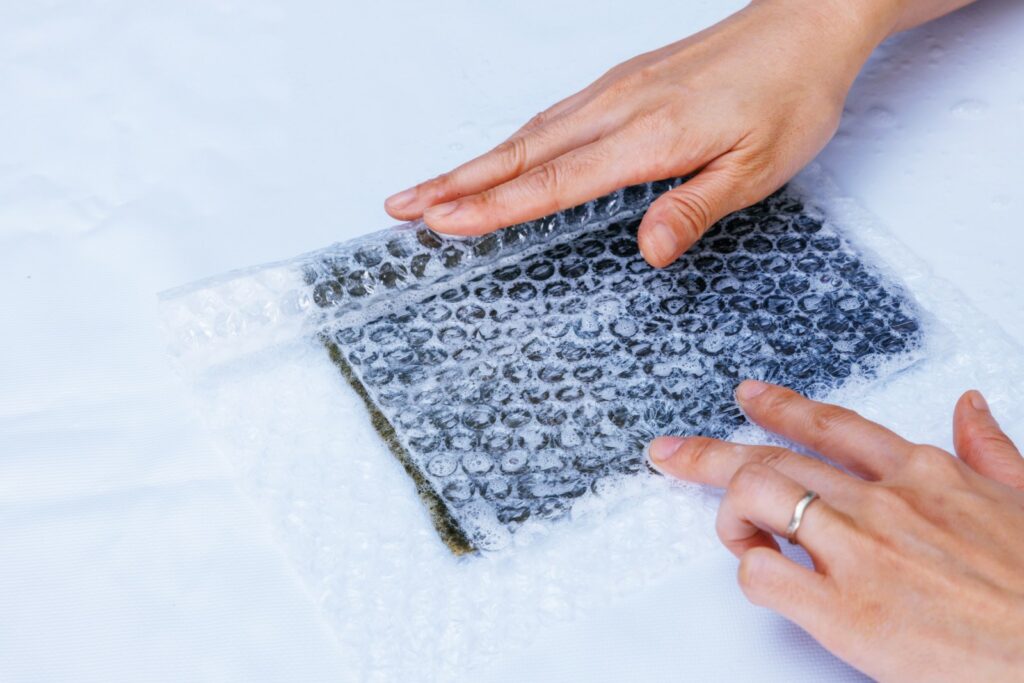
Turn the bubble wrap, wool and pattern over so the pattern is now on top. Roll the “sandwich” in and out for a few minutes on all four sides
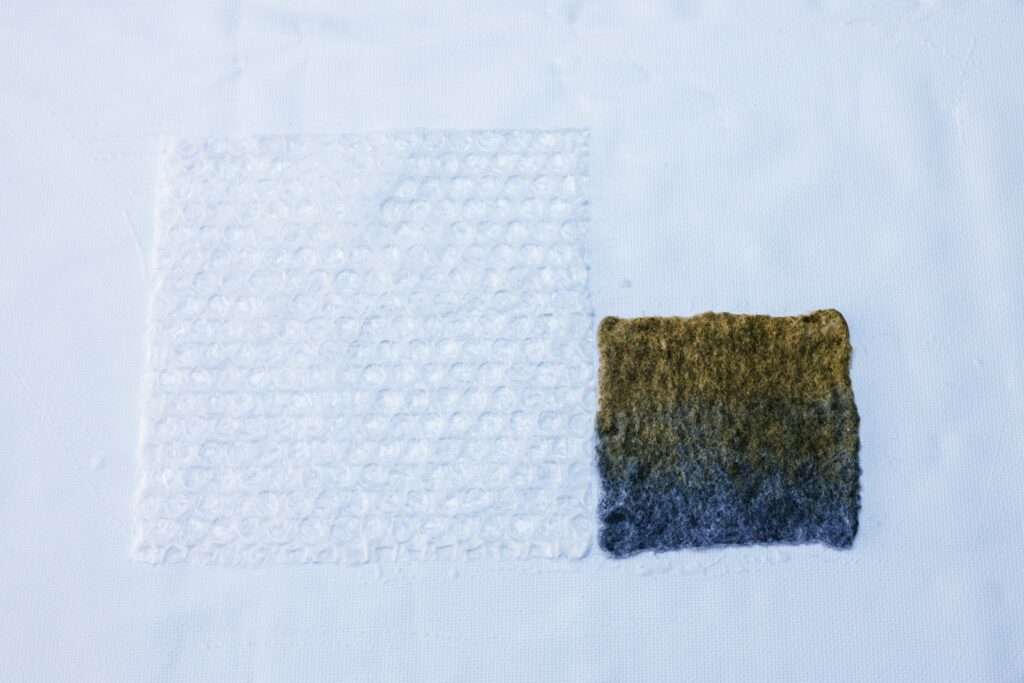
When it is done, the wool will turn into felt and it will shrink by 50 to 60%
Points to note
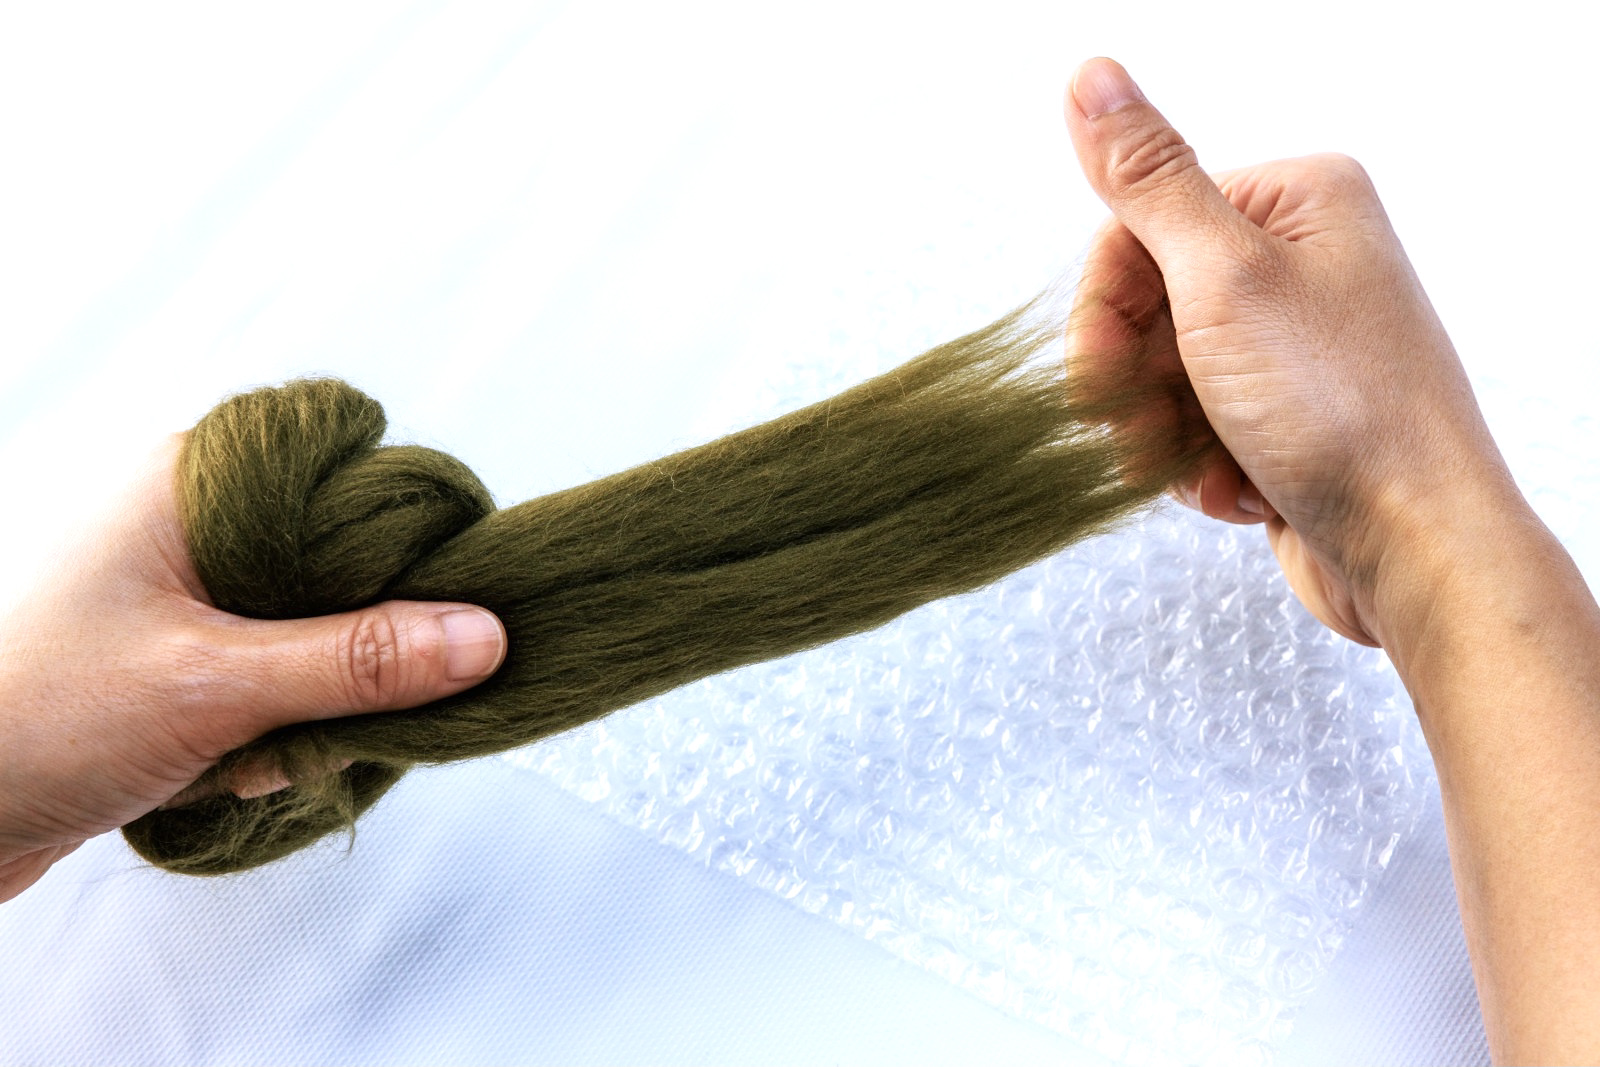
- Keep your hands dry. Maintain a distance of around 10-15 cm between your two hands which is the approximate length of the wool fiber. Your right hand should grip the end of the wool roving at around 0.5 to 1 cm
- Keep your hands close to the patten (around 5 cm above) when place the wool
- Remove any wool fiber that are sticking out too much to ensure evenness of tufts of wool
About Felting
The history of felting can be traced back to centuries ago, before the invention of weaving and knitting. Evidence of the usage of felt, dating back to around 6500 BC, is said to be found in an archaeological site in Turkey.
Felt is a great insulator that can retain the heat generated by the body while absorbing excessive moisture. It is easy to shape but also easy to shrink. It has been used in a wide variety of products including hats, scarves, gloves, bags, shoes, clothes, etc. Because of its attributes of dirt resistance and dust repellent, felt is also often used for industrial purposes like polishing, cleaning, absorbing, filtering, shock absorbing, sealing, sound-proofing, etc., which shows how multifunctional felt can be.
Depending on the craftsmanship involved, felt can be classified into two types: needle felt and wet felt. Needle felt is mainly used to make ornaments, accessories or art works. All you need is a special needle with barbs. By repeatedly puncturing wool fiber with the needle, the fluffy wool fiber will turn stiff and can be shaped into different forms. Wet felt is mostly used to make garments or functional accessories. When layers of wool are laid out in a crisscross fashion and soaked with soapy water, the scales on wool fiber will open up. Next, through rubbing and applying friction externally, the scales will become entangled and start to shrink. The felting process has taken place and, without having to sew, an integrally form product is made.